Saturday, August 29, 2020

First cast with a core

 This is the first time I did sand casting with a core. The core is made from Play Sand and sodium silicate. I put the core in a sealed box with baking soda and vinegar. The carbon dioxide produced hardens the sodium silicate. 3 pins at the top of the core stop it from floating up when I put in the metal.


The pattern was made using a 3D printer. It still amazes me but I can go from ideas in my head a 3D printed model to an aluminium cast in my own back garden.

A few lessons that I've learnt. I need to put ridges in my new casting boxes to stop the sand slipping up and down that nearly ruined the whole cast. I also need to paint the pattern and send it down to avoid ridges showing up in my casting


Wednesday, August 12, 2020

Bits for the boat

 I printed the patterns for these in pla on an ender 3 pro. Cast them in oil bonded sand, drilled, countersunk, and tapped. The stainless rods are held in place with thread locked grub screws. They will hold the trailer board for my boat, clipping into the gudgeons for the rudder.

Monday, June 29, 2020

A bigger crucible

I've bought a new a10 crucible, this can comfortably hold over a litre of aluminium. So I need some new crucible tongs. Have welder, will fabricate... I made the curved parts with a simple wooden jig, I've also made up the ring for my pouring shank For the jig, ignore the gap down the middle, that was an idea that did not work out. You need to tap a small wedge in to hold the steel strap from slipping, that should be tapped in from the short end of the steel, so that the wedge tends to get pull in tighter. After you have started to bend the steel, take it out, and cut off the small straight section at the end, then replace it in the jig and work away.

Tuesday, June 16, 2020

I'm back casting again.

The red sand is oil bonded sand, it gives much finer detail. Mandrels are placed in the mold and for a hold in the casting, the mandrels are knocked out afterward. Then holes are drilled and tapped for grub screws. I made the patterns on a 3d printer, and I cut the negative of the patterns to make a small holder to put the handles in for drilling.

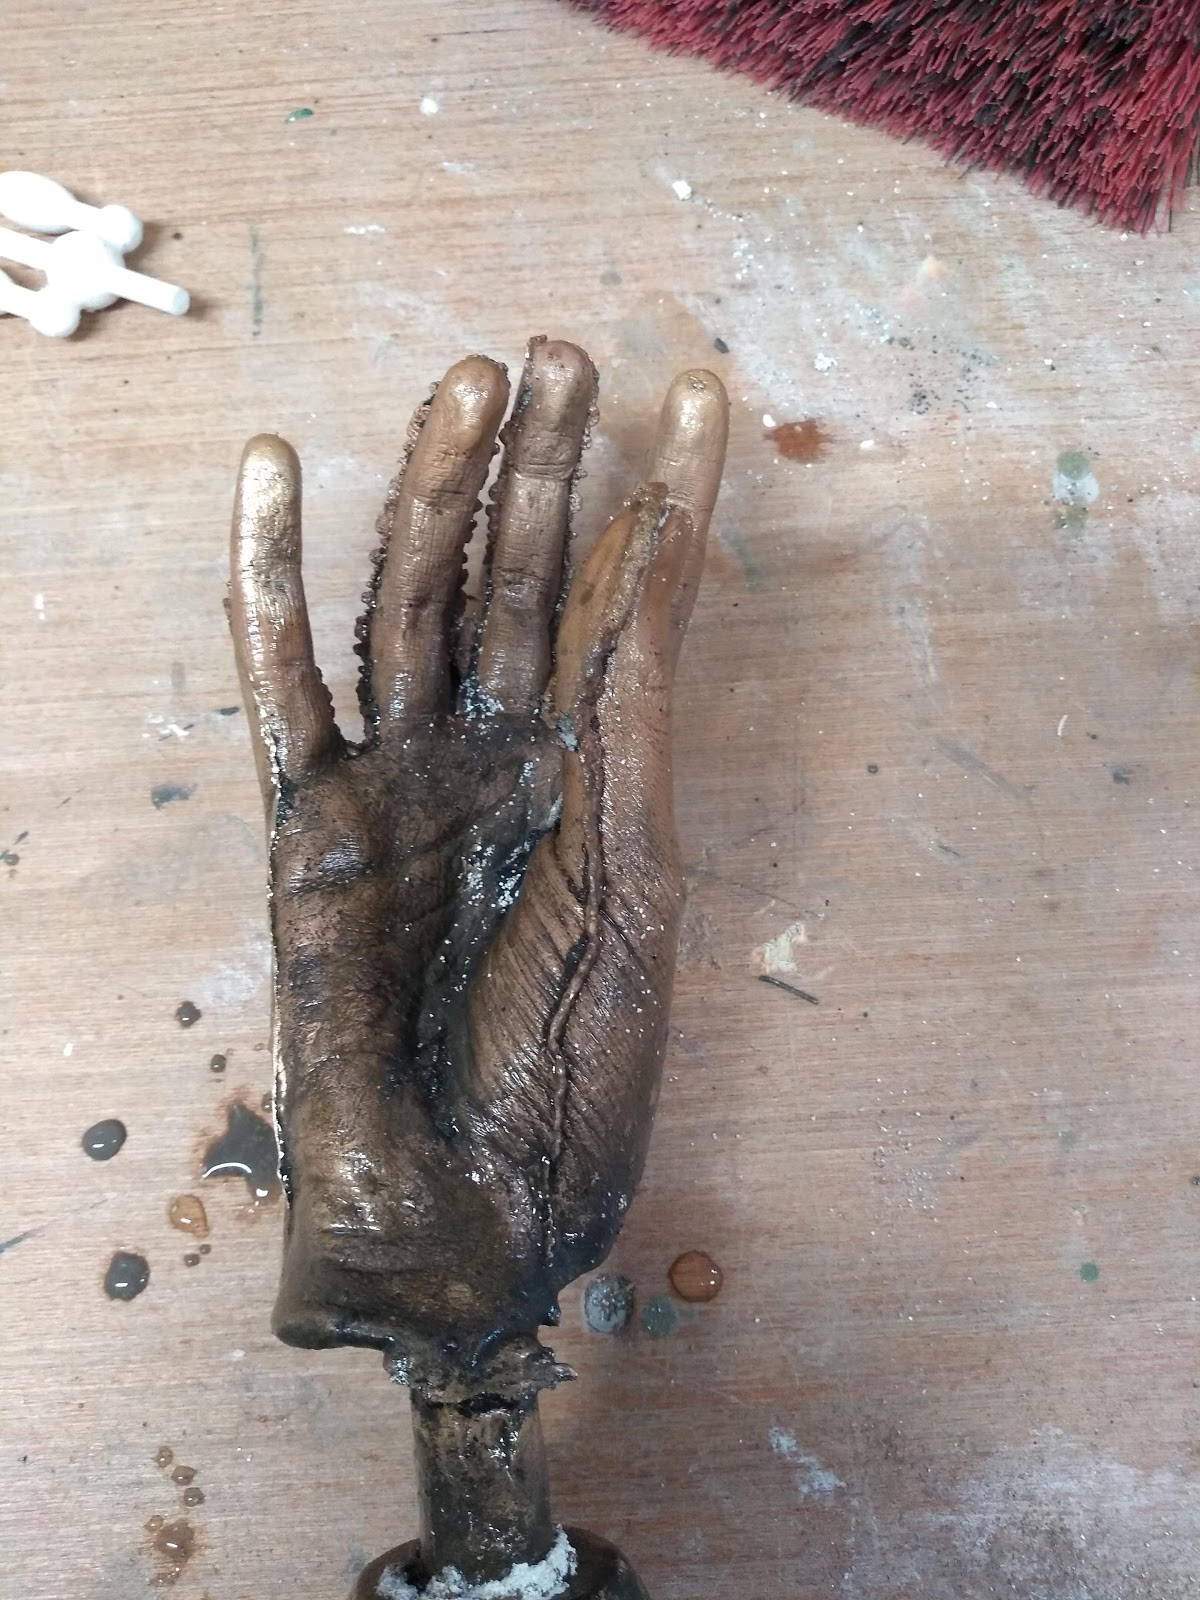
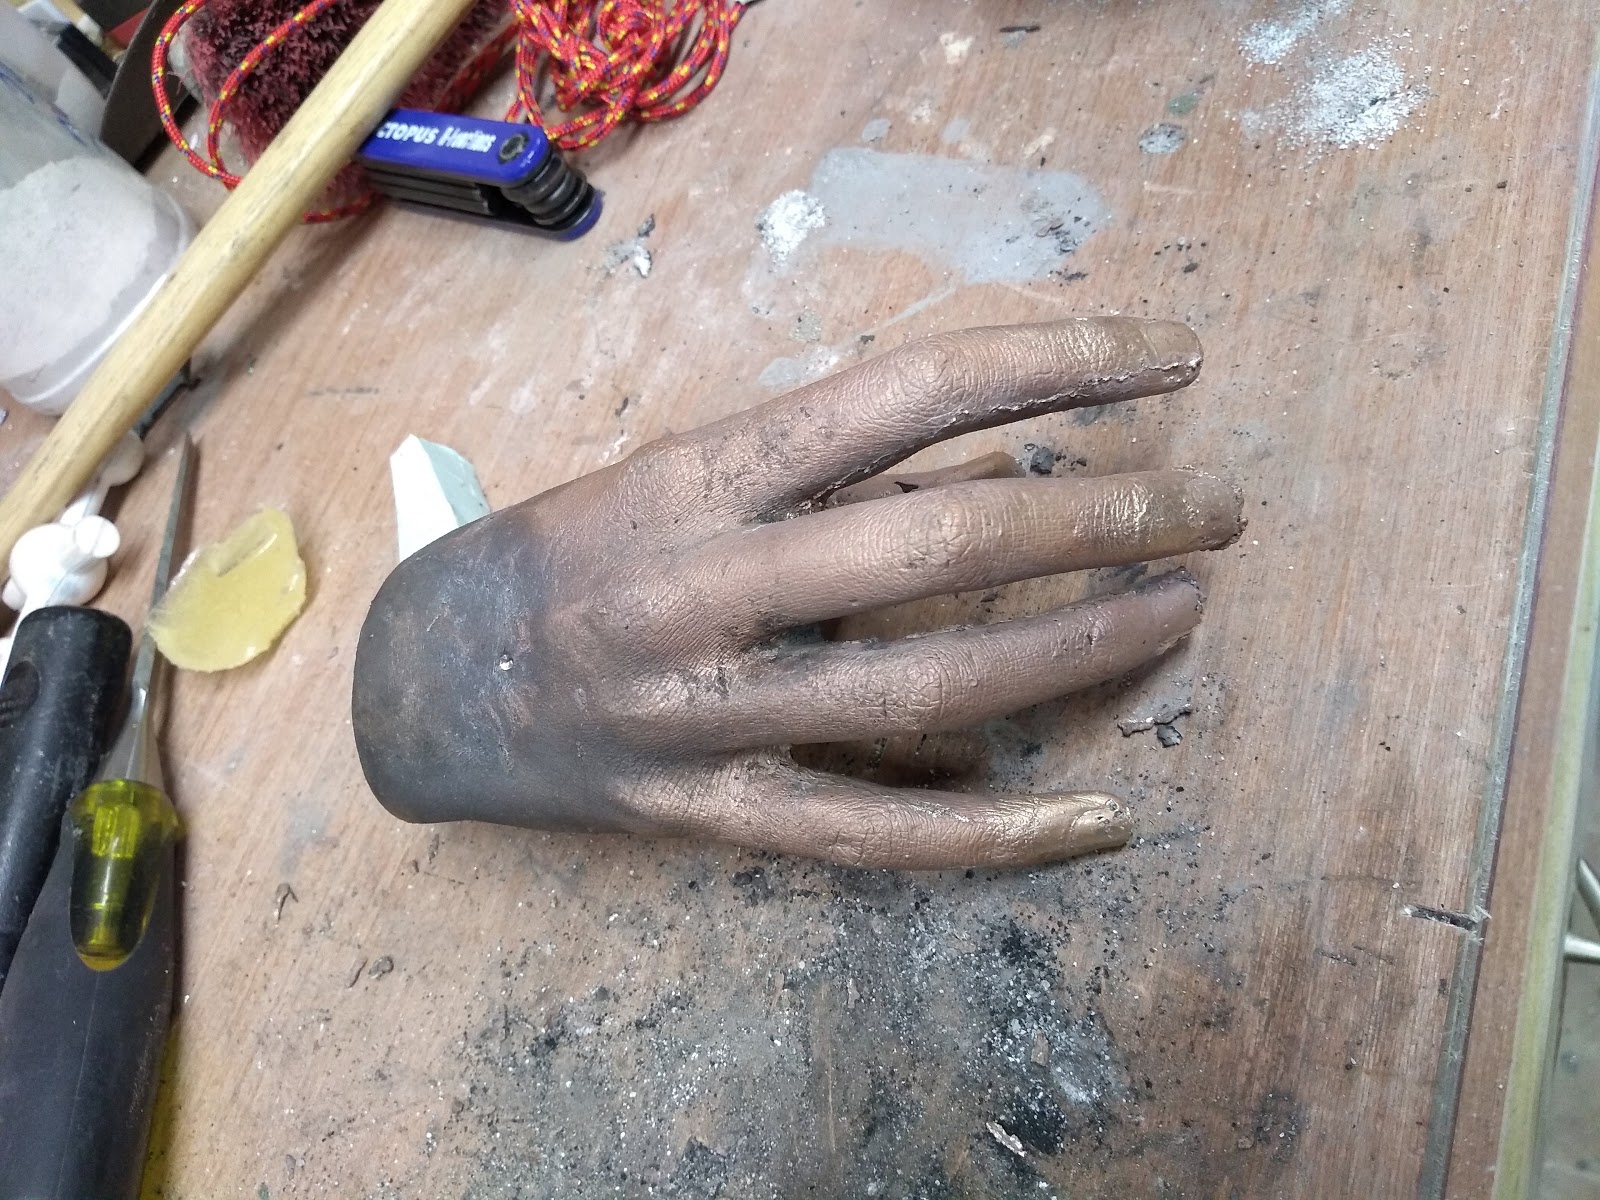
I've also started back lost wax casting. of the three hands, I've poured 2, one failed and will be going back in the pot. The other turned out well. I did not burn out all the wax residue on the second hand. So when I poured the bronze into it, it started spitting and flaming quite a lot. The hand that came out ok, had a lot of flashing where the shell cracked, but since the shell was buried in sand, the cast was not ruined. A little work with a sharp chisel, and a dremel, and it'll be fine


Wednesday, June 24, 2015

Not bad but nearly a mess.

To cast this I ran the crucible quite full. With the last aluminium ingot floating in the melt, it was about 8 mm to the top. Of course as this melted, and the rest of the melt got hotter, the crucible ended up pretty much brim full - stuff expands when you heat it up - who knew?. That makes for a touchy time pouring it. Spilling liquid aluminium is probably a bad way to end the evening.

Here is the pattern with the casting, I've cut off the feed gate, and filed down the flashing around the edge.
Here is a closer shot. For a sand casting the finish is pretty good.


A simple hardface for a furnace.

It's a flu liner for a stove. It's petty much the same material as dense fire brick. I've used a slightly longer one for my new gas fired furnace.

It sits on a packed sand base, it has Ceramic wool around it, and the lid is fire cement and perlite.

It's survived a few melts at this point. It has quite a few cracks. But it was free so it's a win.

Friday, May 17, 2013

My first Thin Ceramic Shell Lost Wax

It turned out pretty well for a first attempt.

There was some charcoal in the pour. And I have what looks like bubbling along in patches.

But there's lots of really great detail. I'm moving up to Propane next, less charcoal, less ash.
I think the finger tips may have been ruined by charcoal ash getting into the ceramic mold while I baked it.

Ps. Thanks Ben.


Posted by Picasa