This is a quick shot of the temporary head stock running with the countershaft. It's all screwed down to the workbench.
Sunday, December 6, 2020
Gingery Lathe Countershaft
This is a quick shot of the temporary head stock running with the countershaft. It's all screwed down to the workbench.
Monday, November 2, 2020


Sunday, September 13, 2020
Nearly flat
So the casting came out pretty flat. But taking it to machine flat is (as expected) a lot of work.
Next time I'll make the cores a 1/2 mm too short. I think they were slightly too long and pushed up the center of the sand a fraction.
I've been working so far with a wood rasp, then a coarse diamond stone to remove burrs. I tried a woodplane, but it didn't really work very well.

Saturday, September 12, 2020
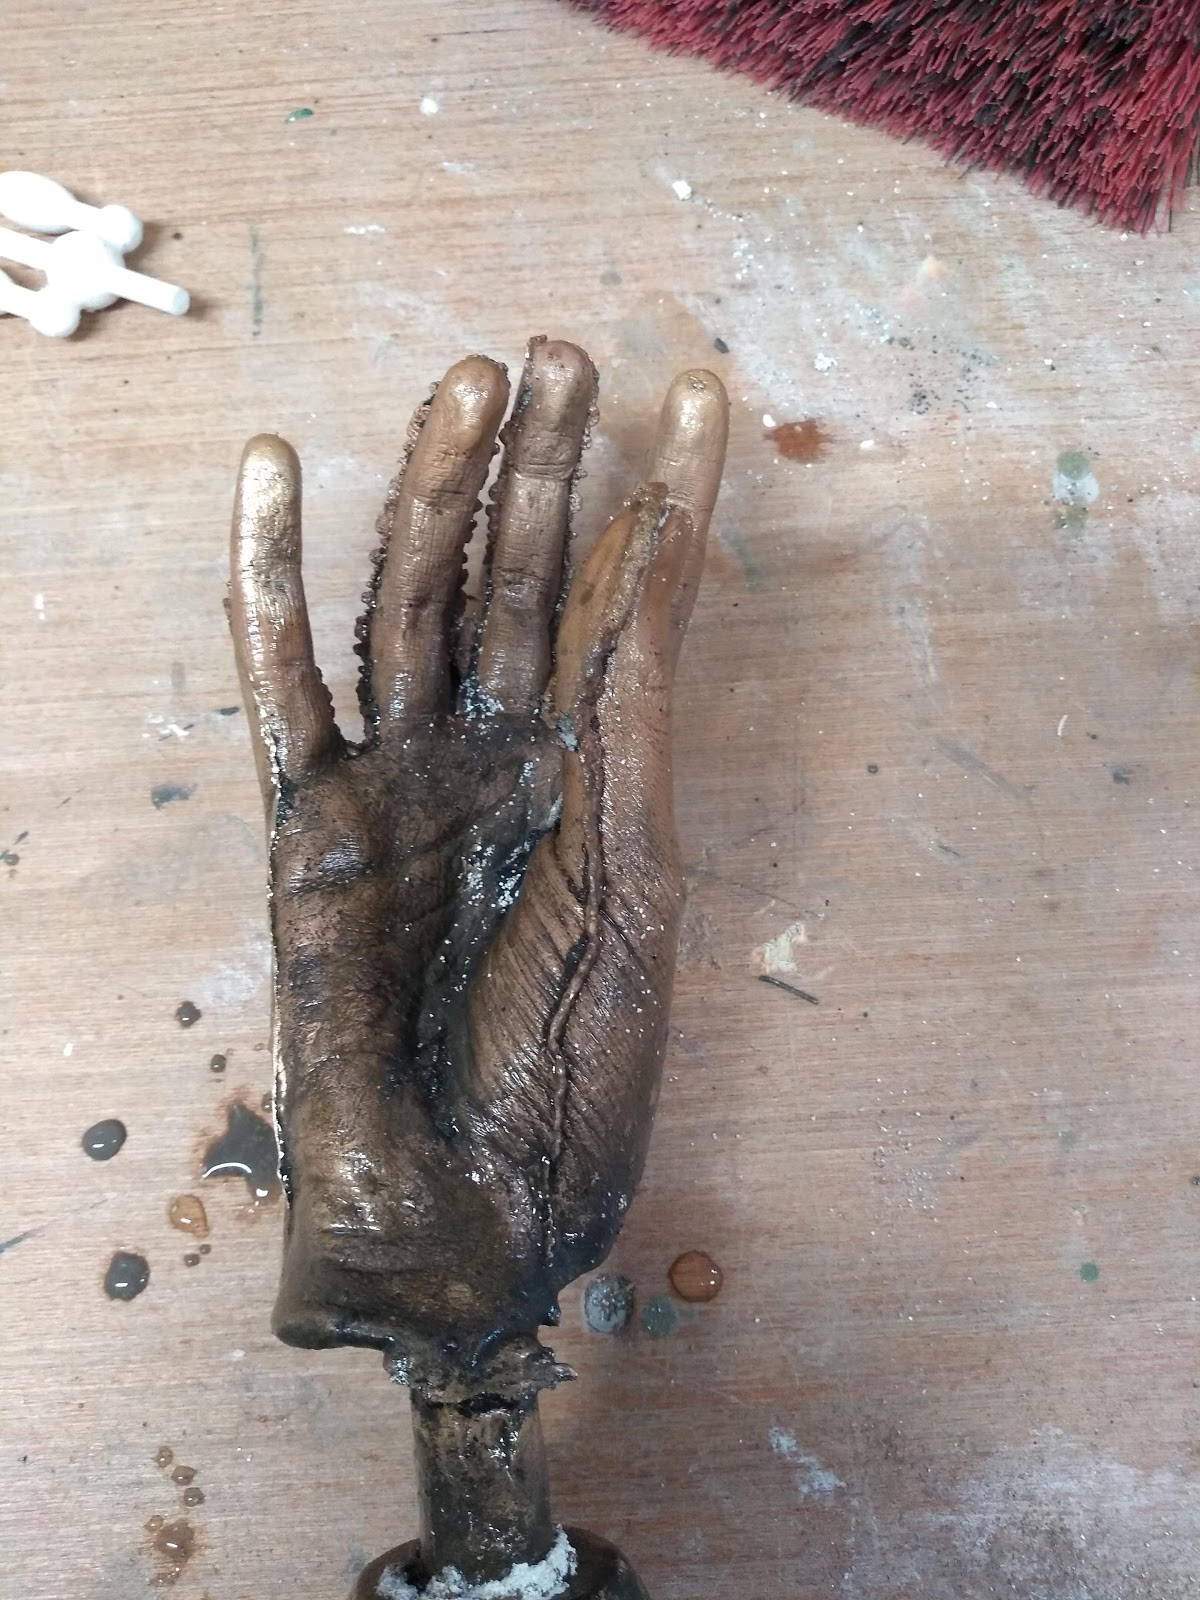
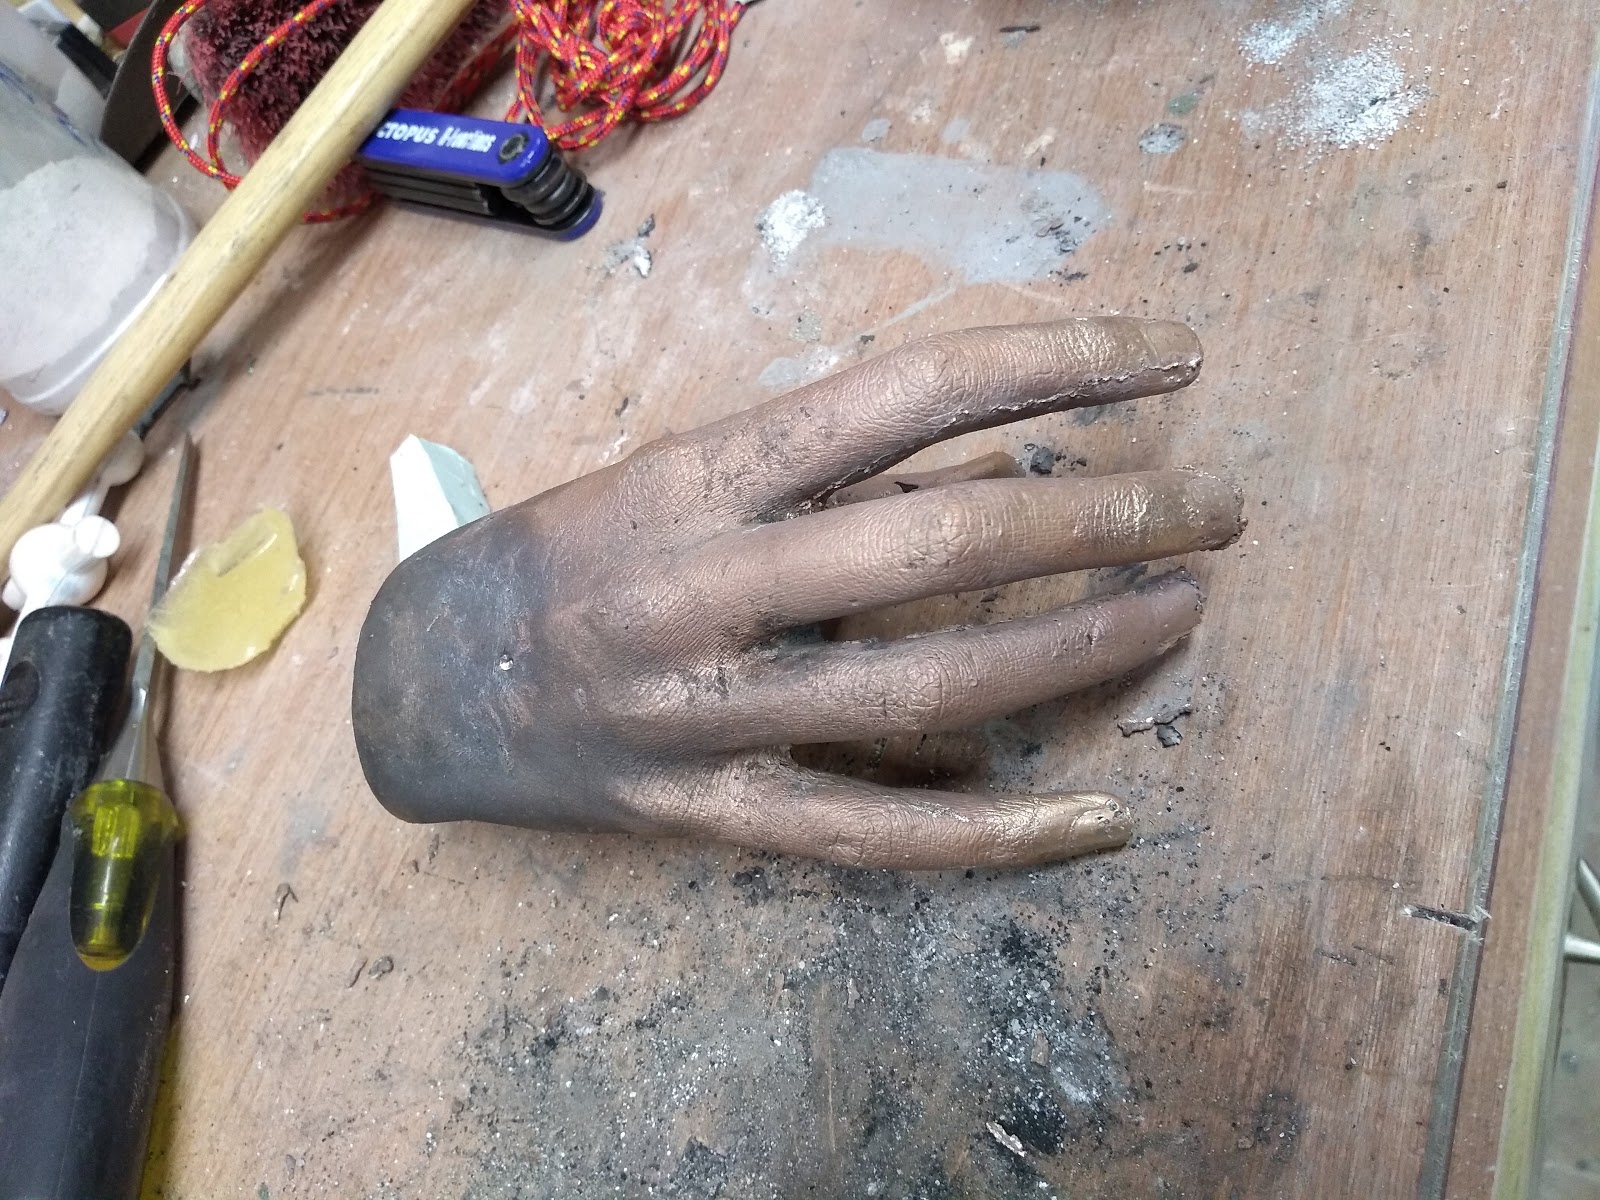
Hands again
I found that if I use a gas torch from the Large propane tank, and dump a LOT of heat into the ceramic, the wax melts out without breaking the shell. So I have 2 bronze hands. There's still flaws, both have a damaged finder tip. I think this is from the way I've been resting the ceramic shell on the bottom of the pot of slurry while I've been coating the hands, I think they are probably good enough. I'll clean them up over the next day or two and decide.
I may get a small oxy-propane kit and braze some silicon bronze onto the end of the fingers and then file it to shape. See how that turns out.

I think that worked
The cast used up 2.3 kilos of aluminium including the sprue and risers. I had enough aluminium left over for about 6 muffin ingots. It's a big crucible, it felt like I just kept adding more and more scrap.


Thursday, September 10, 2020
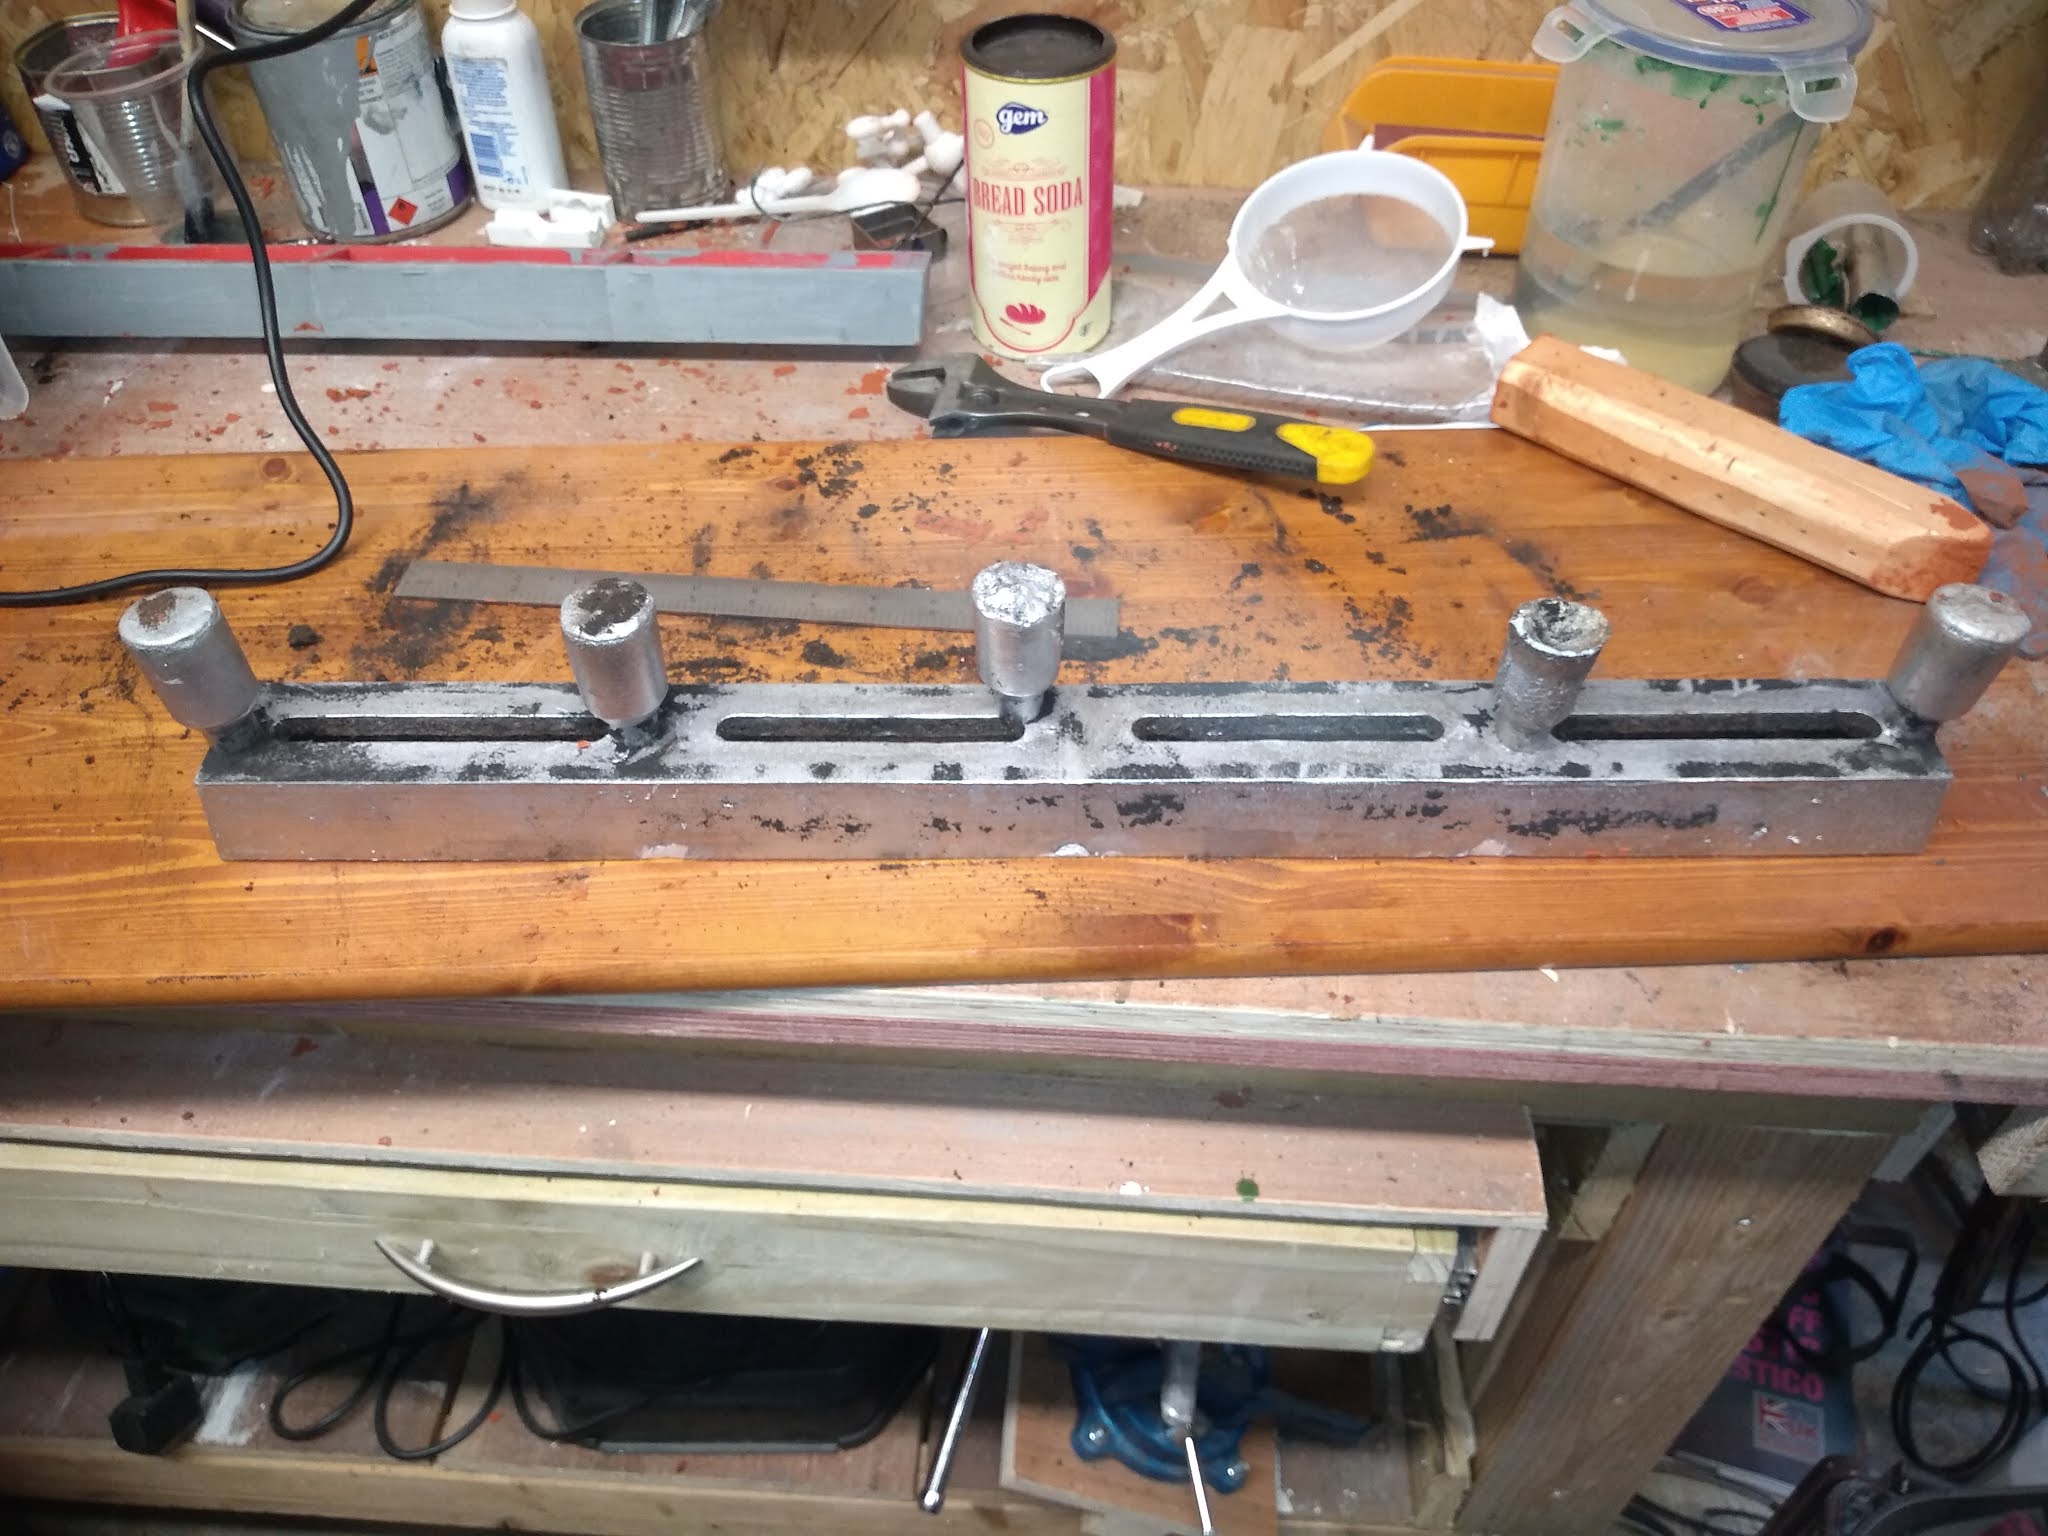
My biggest, most complex cast yet

This casting is 60cm (2 feet) long, and has 4 cores, it needs to be dead flat, so I can't live with any shrinkage. A liberal coating of talc to make sure everything separates, I'd hate to do all that work and have the whole thing stick together like a previous smaller casting did.
 It's all rammed up, with a tapered sprue, and some pretty big risers over the ends and over the webbing.
 It separated cleanly, with the pattern stuck in the cope. Not a huge surprise, and not a problem.
I cut the gates, and the pattern came out cleanly, I used the split patterns the I made the cores with to make sure the cores were placed correctly.

And now it's all closed up, and waiting for the pour.
Cores in place ✓
Gates Cut ✓
Pouring Basin ✓
Clamps Locked ✓
I know that I have left very little room around the pattern, I have no more sand, I was left with about 2 mugs full of sand when I finished ramming this up. I also know that my pouring spout and center riser are too close to the flask. It will catch fire. I'll chuck some sand over it. I hope I only need to pour this once. If I mess up, then by the time I chuck out the burnt sand, I won't have enough left for another try so I'll have to shell out and buy another bag.
Wish me luck
Saturday, August 29, 2020
First cast with a core
This is the first time I did sand casting with a core. The core is made from Play Sand and sodium silicate. I put the core in a sealed box with baking soda and vinegar. The carbon dioxide produced hardens the sodium silicate. 3 pins at the top of the core stop it from floating up when I put in the metal.


The pattern was made using a 3D printer. It still amazes me but I can go from ideas in my head a 3D printed model to an aluminium cast in my own back garden.
A few lessons that I've learnt. I need to put ridges in my new casting boxes to stop the sand slipping up and down that nearly ruined the whole cast. I also need to paint the pattern and send it down to avoid ridges showing up in my casting
Wednesday, August 12, 2020
Bits for the boat
I printed the patterns for these in pla on an ender 3 pro. Cast them in oil bonded sand, drilled, countersunk, and tapped. The stainless rods are held in place with thread locked grub screws. They will hold the trailer board for my boat, clipping into the gudgeons for the rudder.

Monday, June 29, 2020
A bigger crucible
I've bought a new a10 crucible, this can comfortably hold over a litre of aluminium.
So I need some new crucible tongs.
Have welder, will fabricate...
I made the curved parts with a simple wooden jig, I've also made up the ring for my pouring shank
For the jig, ignore the gap down the middle, that was an idea that did not work out.
You need to tap a small wedge in to hold the steel strap from slipping, that should be tapped in from the short end of the steel, so that the wedge tends to get pull in tighter.
After you have started to bend the steel, take it out, and cut off the small straight section at the end, then replace it in the jig and work away.


Tuesday, June 16, 2020
I'm back casting again.
The red sand is oil bonded sand, it gives much finer detail.
Mandrels are placed in the mold and for a hold in the casting, the mandrels are knocked out afterward.
Then holes are drilled and tapped for grub screws.
I made the patterns on a 3d printer, and I cut the negative of the patterns to make a small holder to put the handles in for drilling.


I've also started back lost wax casting. of the three hands, I've poured 2, one failed and will be going back in the pot. The other turned out well. I did not burn out all the wax residue on the second hand. So when I poured the bronze into it, it started spitting and flaming quite a lot. The hand that came out ok, had a lot of flashing where the shell cracked, but since the shell was buried in sand, the cast was not ruined. A little work with a sharp chisel, and a dremel, and it'll be fine


I've also started back lost wax casting. of the three hands, I've poured 2, one failed and will be going back in the pot. The other turned out well. I did not burn out all the wax residue on the second hand. So when I poured the bronze into it, it started spitting and flaming quite a lot. The hand that came out ok, had a lot of flashing where the shell cracked, but since the shell was buried in sand, the cast was not ruined. A little work with a sharp chisel, and a dremel, and it'll be fine

Subscribe to:
Posts (Atom)