Sunday, May 29, 2022

Pullies and lead screw


https://youtube.com/shorts/6r-MS5sE5aU

I've replaced another 3d printer pulley with a cast one, and also added the apron for the cross slide. The cross slide moves about 0.2 mm for each rotation of the lathe l.

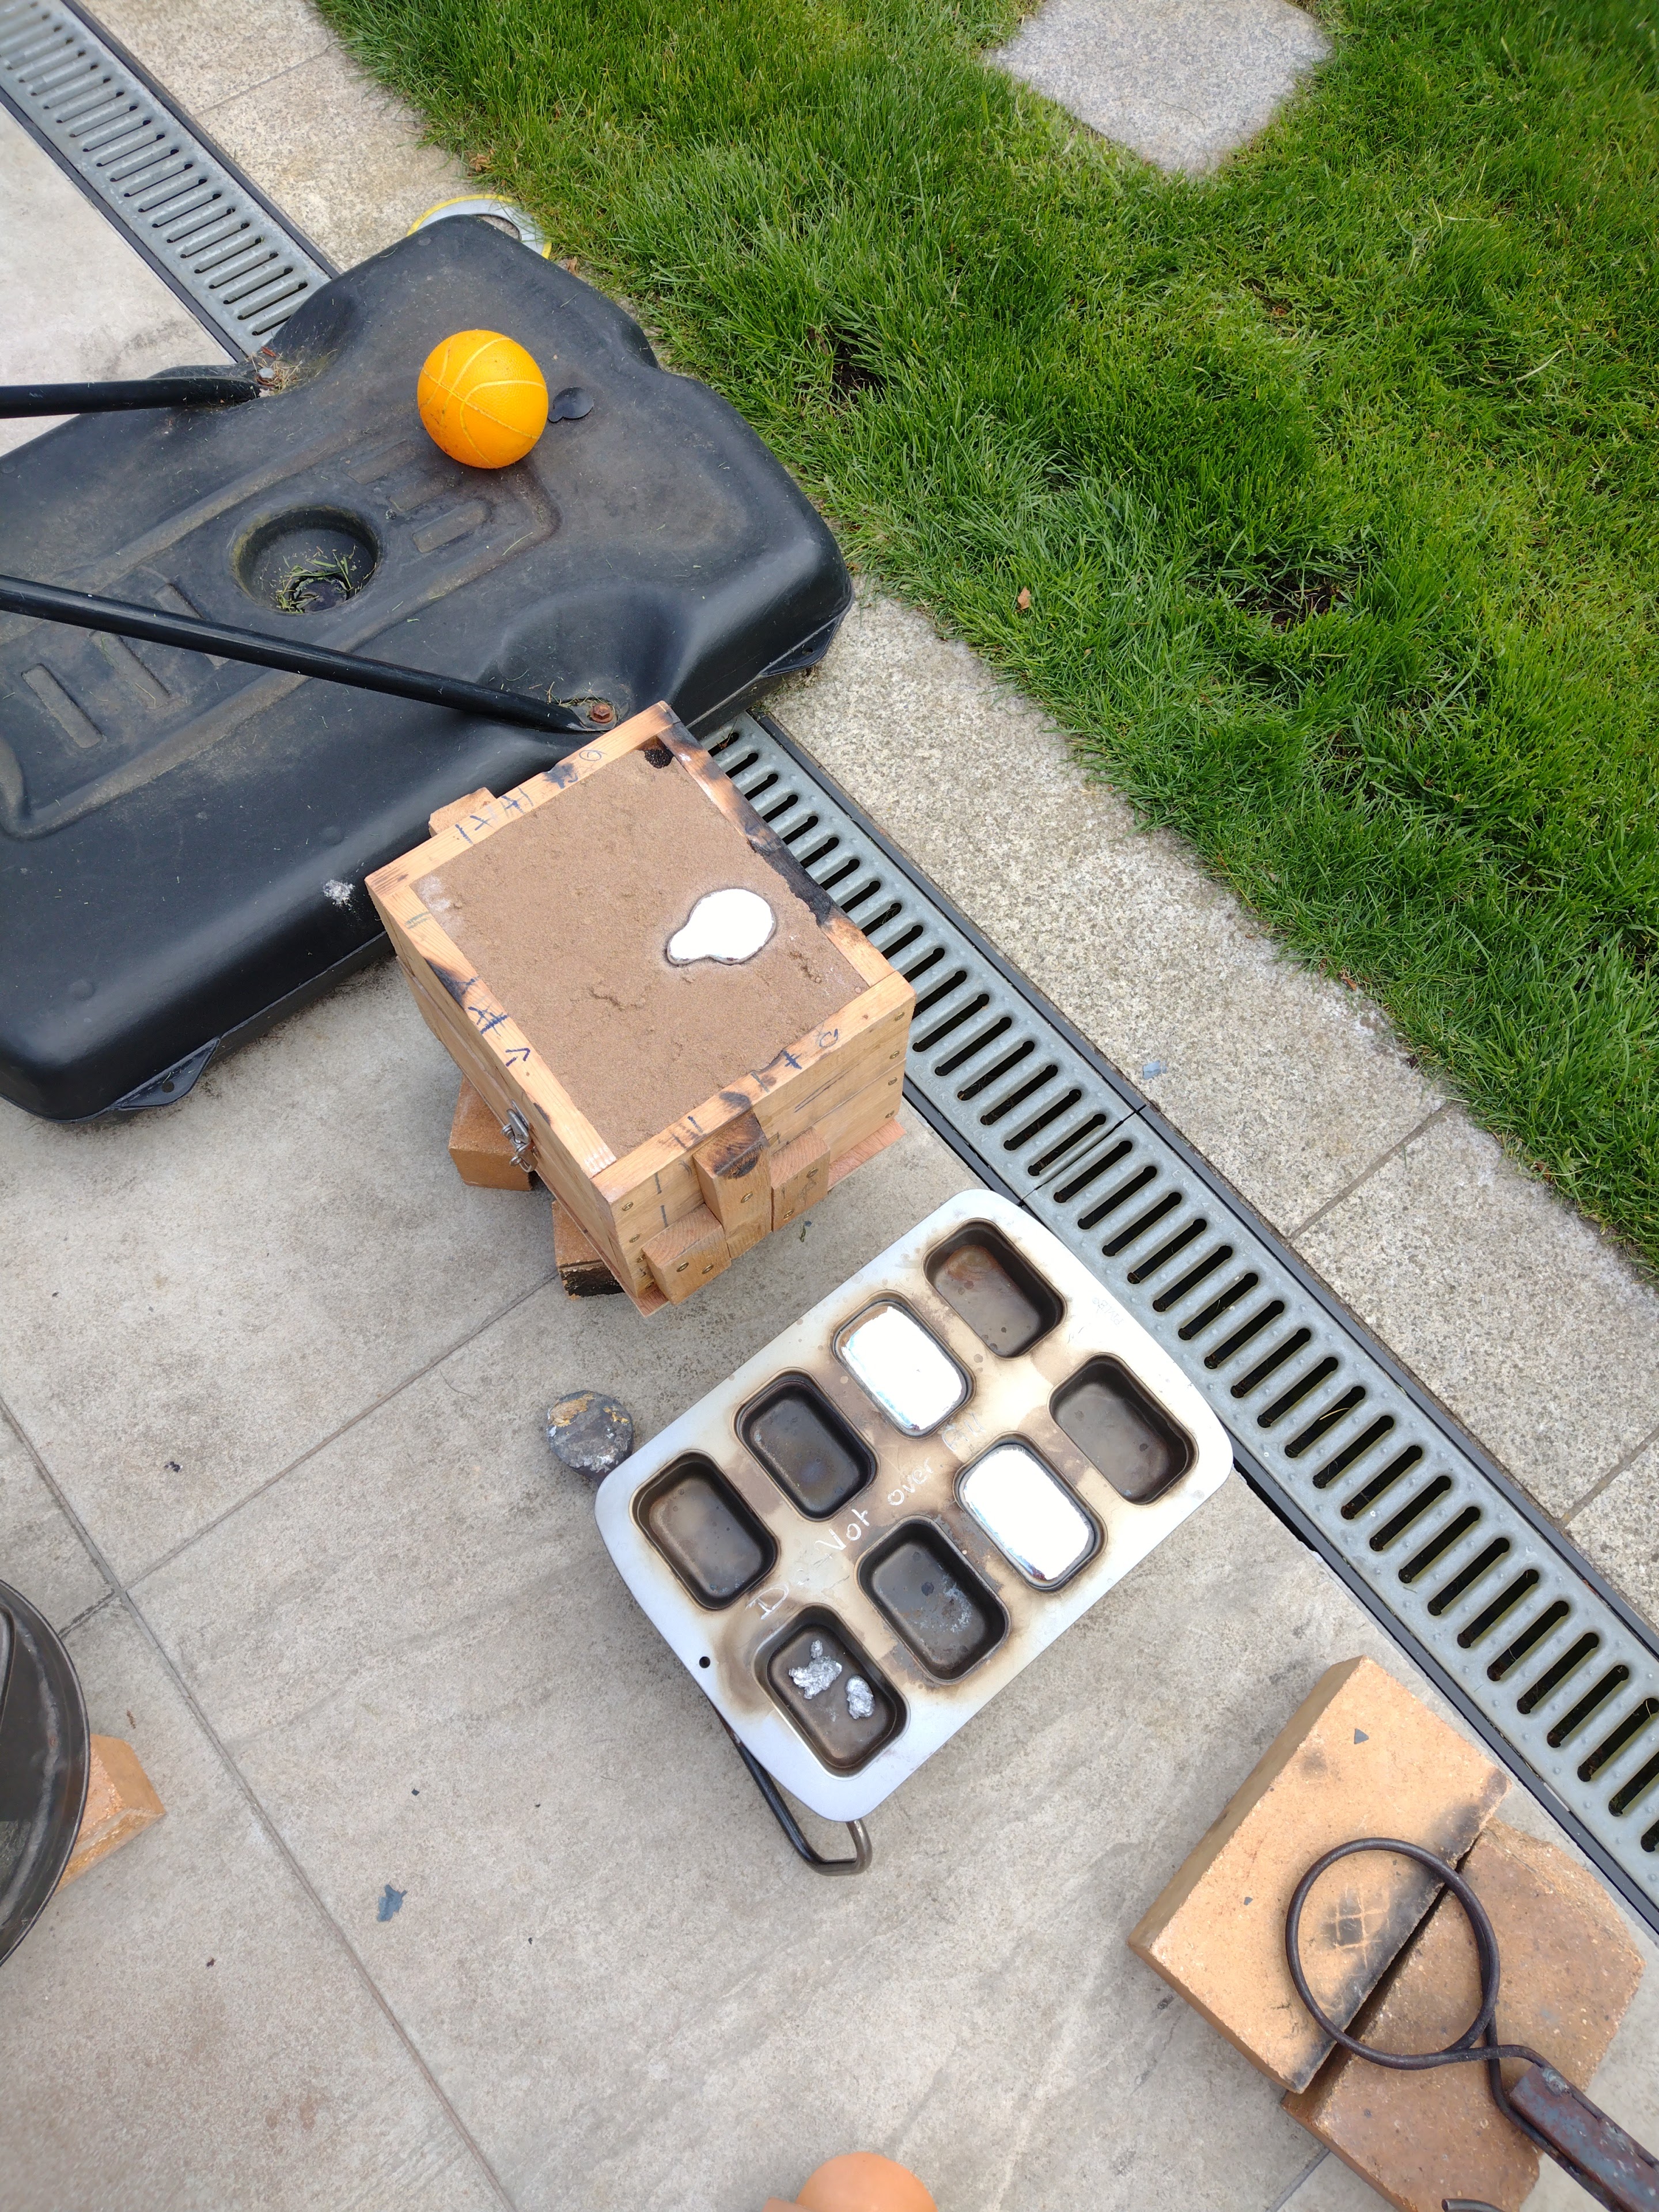
The 3d pullies were starting to fail where the bolt was placed to tighten them on to the spindles.


Shaking out, still no biscuit


 So I added the riser, and the shrinkage is sorted, but I have a small hole in the casting, where the metal didn't flow.

hotter pour next time, I time from when the last piece melts.

I also checked to see if the pattern is wrong. It turns out that this section should be thicker, 3/16, not 1/16. Doh.

At least the riser seems to have sorted the shrinkage.


Saturday, May 28, 2022

Close, but no biscuit


The two halves of the pattern are held together by pins, if the pin is too tight, then the pattern won't separate when you split the mold, so you can get breakage around the edges. If the pins are too loose the pattern can slide to one side and things won't line up...

I think that I can clean this up well enough with a file, as it's for a slow speed pulley....


Shrinkage

I forgot to add a riser, whatever cools last tends to shrink, particularly if it's thick.

Next times I'll add a big riser.

The riser has to cool after the part so that it can keep feeding in liquid metal as the part cools and shrinks.


Monday, May 23, 2022

A boring jig

Once you have a hole, you set the depth of cut by eye, then measure the diameter.

Then you can use this jig, with a set of feeler gauges to expand the hole by a set amount. Touch the floating bolt off the blade, back it off till you can fit the feeler gauge with a hint of friction, loosen the cutter, and move it forward to the bolt, tighten up and off you go.

Pretty rough and ready, but with practice you can get a hole bored to within 0.1mm, or about 4/1000" of an inch.


Sunday, May 22, 2022

A little less breakout on the mold

 That came out pretty well, especially compared to the previous result below..


There was a lot of breakage at the edges here. That was from before I made up the template to hold the sand in place as I pulled out the pattern.


The template helps support the sand, and I've gotten better at rapping the pattern. If you don't rap enough, sand sticks to the mold and tears away as you pull out the pattern, if you rap too much, you break off parts of the mold. It's very much a trial and error thing that you learn by feel.


Drag, cope and hat

 Ok, it's not called hat by anyone else, apparently it's called an upset. I don't have a proper molding bench, so as the cope fills up, sand spills everywhere, add an extra frame, and I can fill the cope and ram it down with a lot less mess.

You can see the over-centre latches that hold the cope and drag together, a lot easier than trying to balance weights on the sand to stop the hydrostatic pressure lifting the cope.


Thursday, May 19, 2022

A few metal casting channels,

In no particular order, if you want to learn to cast aluminium, there's so much information here:

  • https://www.youtube.com/c/Grunblau
  • https://www.youtube.com/c/PwnFunction
  • https://www.youtube.com/c/TroyeWelch/videos
  • https://www.youtube.com/c/swdweeb/videos
  • https://www.youtube.com/c/VegOilGuy
  • https://www.youtube.com/channel/UC90RoN_IjSRF18jAG0HIA6g
  • https://www.youtube.com/c/myfordboy
 

The picture is just because this post seems kinda bleak without a picture.

A stepped pulley cast from a 3d print


I cast my first stepped pulley to replace the 3d printed ones. It was of course cast from a 3d printed pattern. Here's a video of the pulley in action. I'll replace the second one shortly.

Monday, May 16, 2022

It fits

 A little boring on the mill with a home.made boring tool. This would be so much easier on a lathe, once the lathe is finished.


And it fits. It's not a press fit, but I'll drill and tap it for 2 grub screws at right angles, and that will hold it fine on the spindle.


Sunday, May 15, 2022

A file can fix a multitude of sins..

 Here's how it turned out after a gentle application of a file.... 

Ok, perhaps quite a bit of filing. But aluminium is soft...


Lessons learned

 Aggressive rapping can break smaller sand features. It seems better to do a lot more rapping with a lighter bar 

I think I will try making up a template to sit on the sand around the pattern and hold it in place as I pull up the pattern, not sure how this will go.

I was so concerned about the metal post I was casting around, I forgot to preheat the muffin tray for left over metal ingots. Lucky it's been warm, no condensation to bite me. 😳

I'm getting a better feel for how much water my sand needs, I suspect this varies by sand, and it's very much a feel thing. The sand should still be possible to sieve, but not as easy to sieve as dry sand.


Nothing a file can't fix

 Here you can see the core piece.


And I'll need to file away where the mold broke a little, but I expected that.


Pouring pullies

 That's hot. Just one mold to pour. From heat on to pour is about 12 minutes.


The pour went well, have to go out now, I'll knock the casting out later. The cake tin is perfect for any left over metal.


Saturday, May 14, 2022

3rd attempt at pulley mold came out okish

These latches are great for holding the mold closed.
 
Drag done, 

Blowing out the sand from the holes for the locating pins.

Sifting sand on for a smoother first layer.

Ramming the sand, with a home cast sand rammer

First attempt

All went pair shaped when I tried to remove the patterns.

The simple shape was fine.

Changed to some other sand, not as fine, but higher green strength.

Not too bad

Core in place.

But the sand was too dry.

Mixed in a little more water and tried again.


A 3d printed core box and the core

 I don't like 2 piece core boxes made on 3d printers, the layer lines make separating the halves too difficult, and I have lost too many cores.

3 or 4 parts, with interlocking ridges, or pins work better for me.

This is a core for a stepped pulley, pics of the pattern, and mold should follow soon.


A little protection from splashes?

 Overlapping leather, perhaps if there's a splash, this will help reduce the damage?

Hopefully I won't get to test it.